The Future of Seamanship – Tradition Meets Innovation
By Captain Adrian Cole, Senior Marine Specialist – AAA Mariner 🌊 Introduction: A Sea of Change The ocean has always
By Captain Adrian Cole, Senior Marine Specialist – AAA Mariner 🌊 Introduction: A Sea of Change The ocean has always
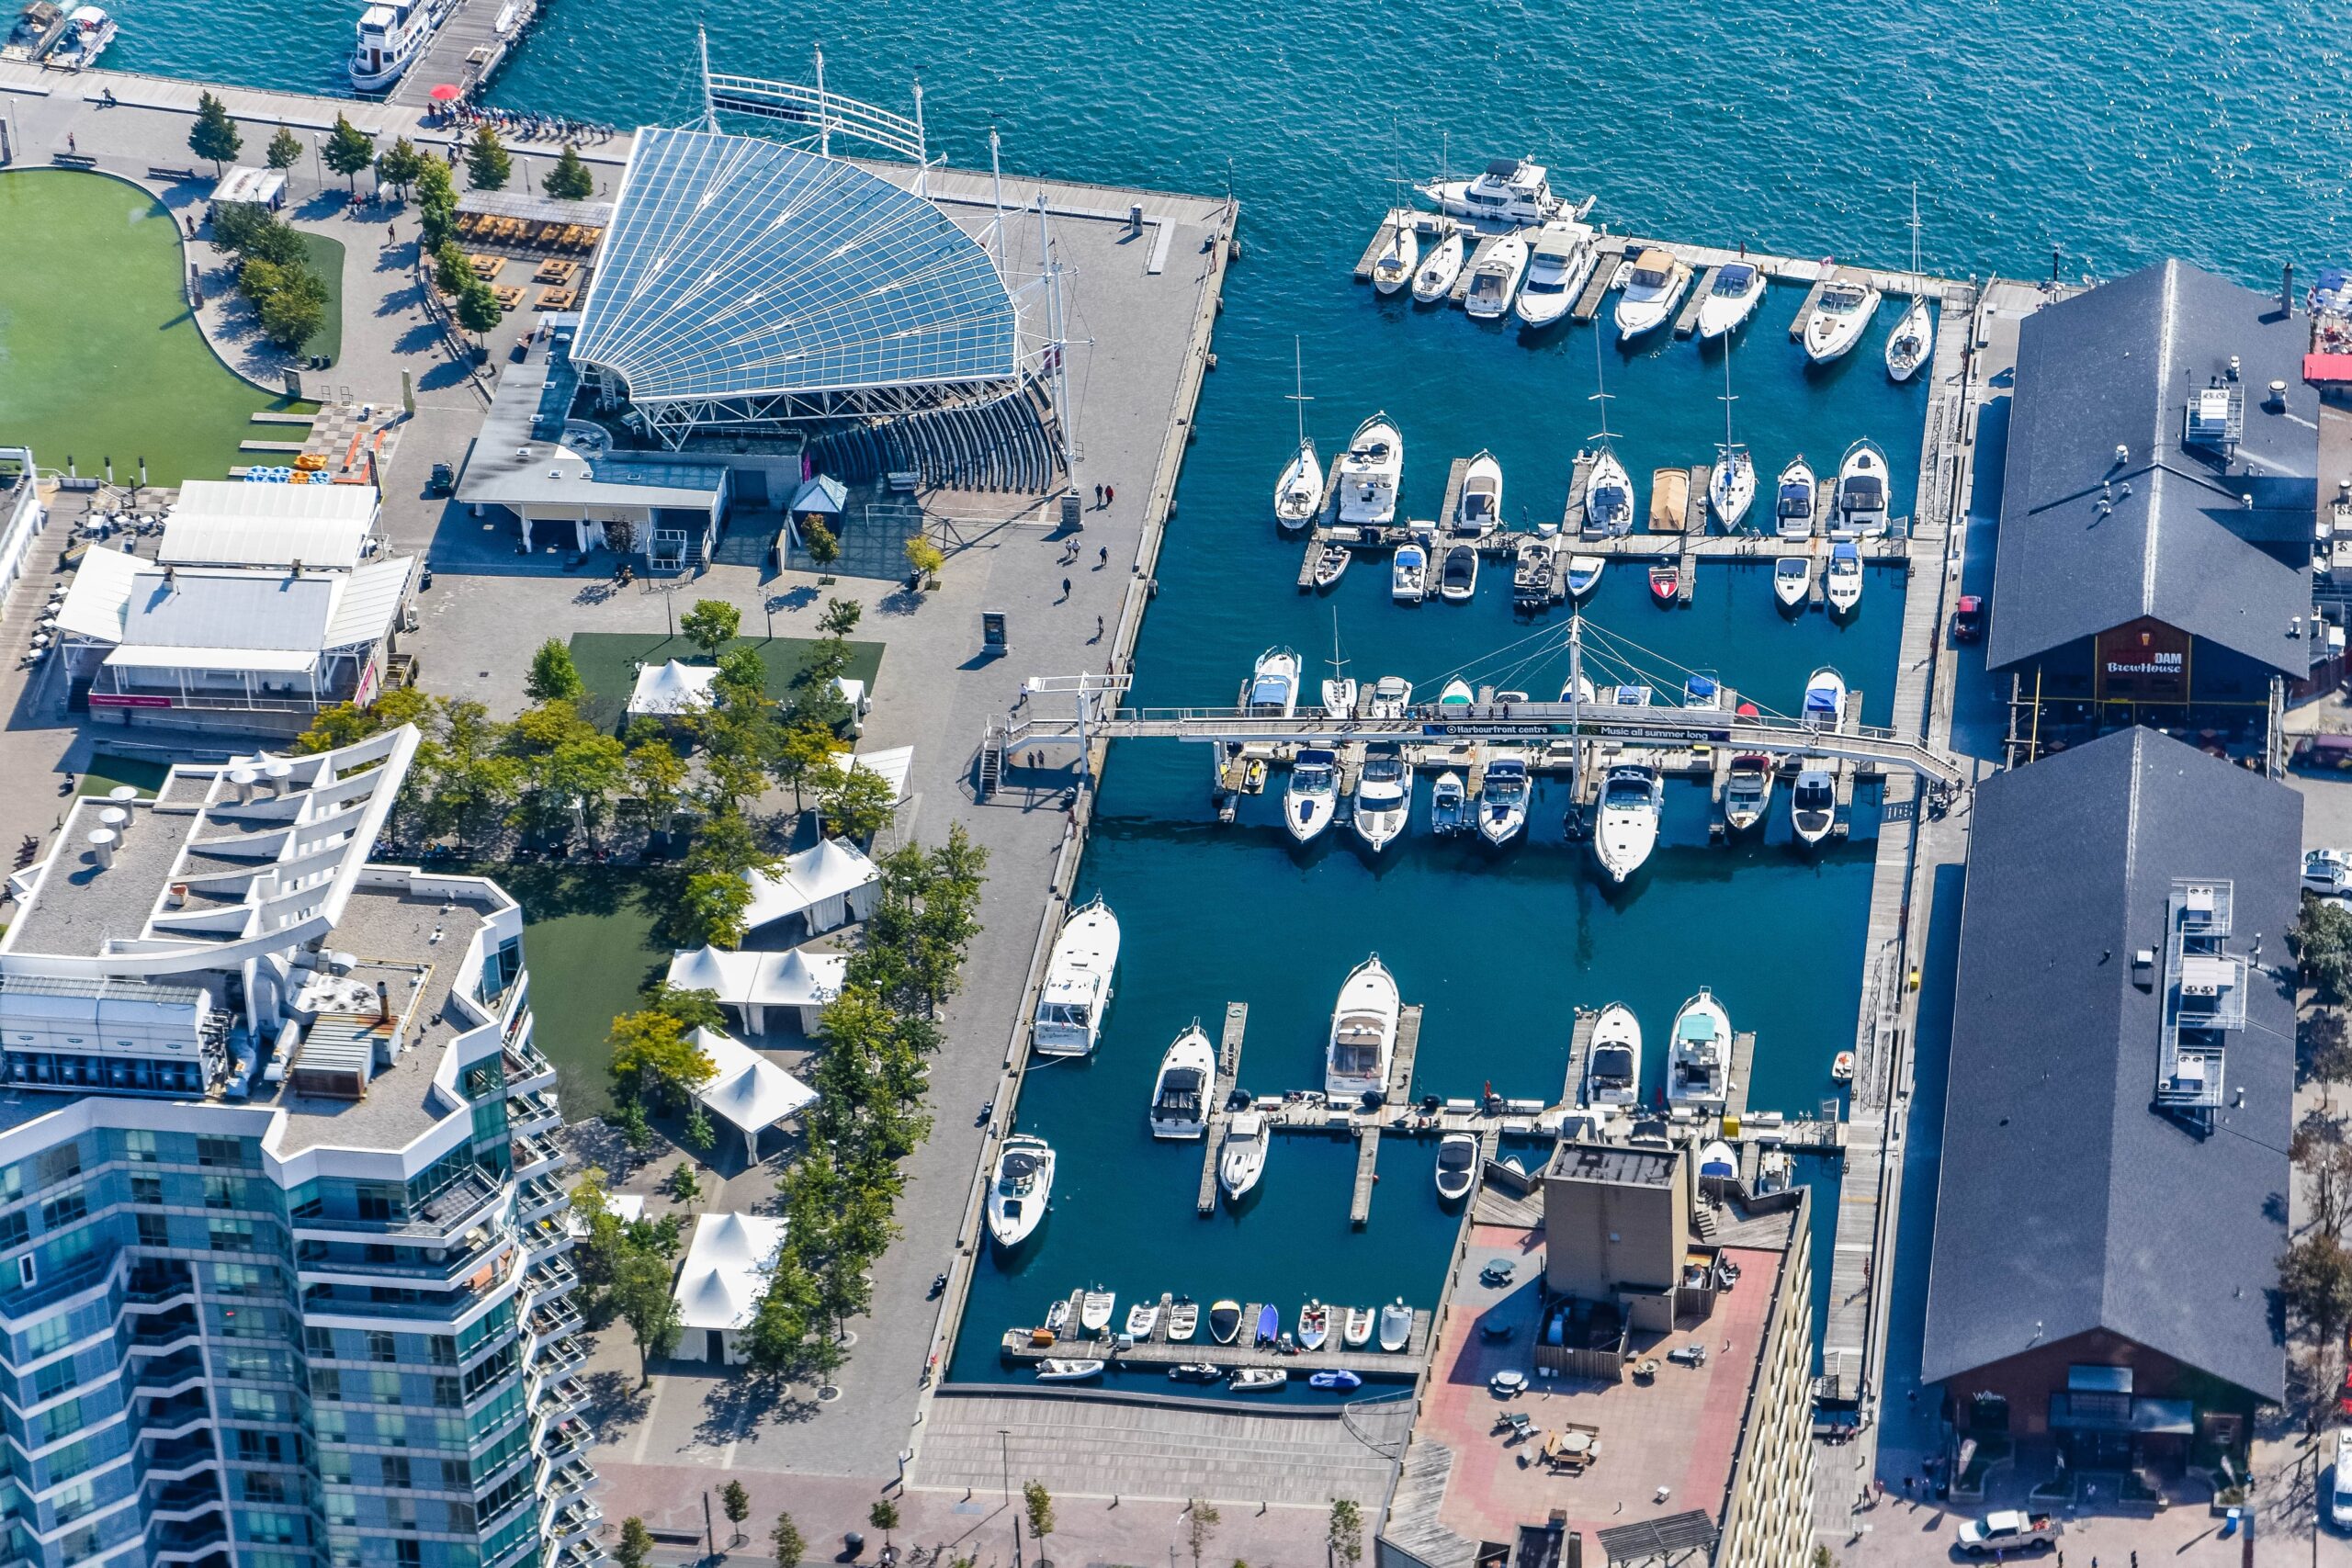
The ocean gives us everything — from trade routes and food to inspiration and adventure. But with that gift comes
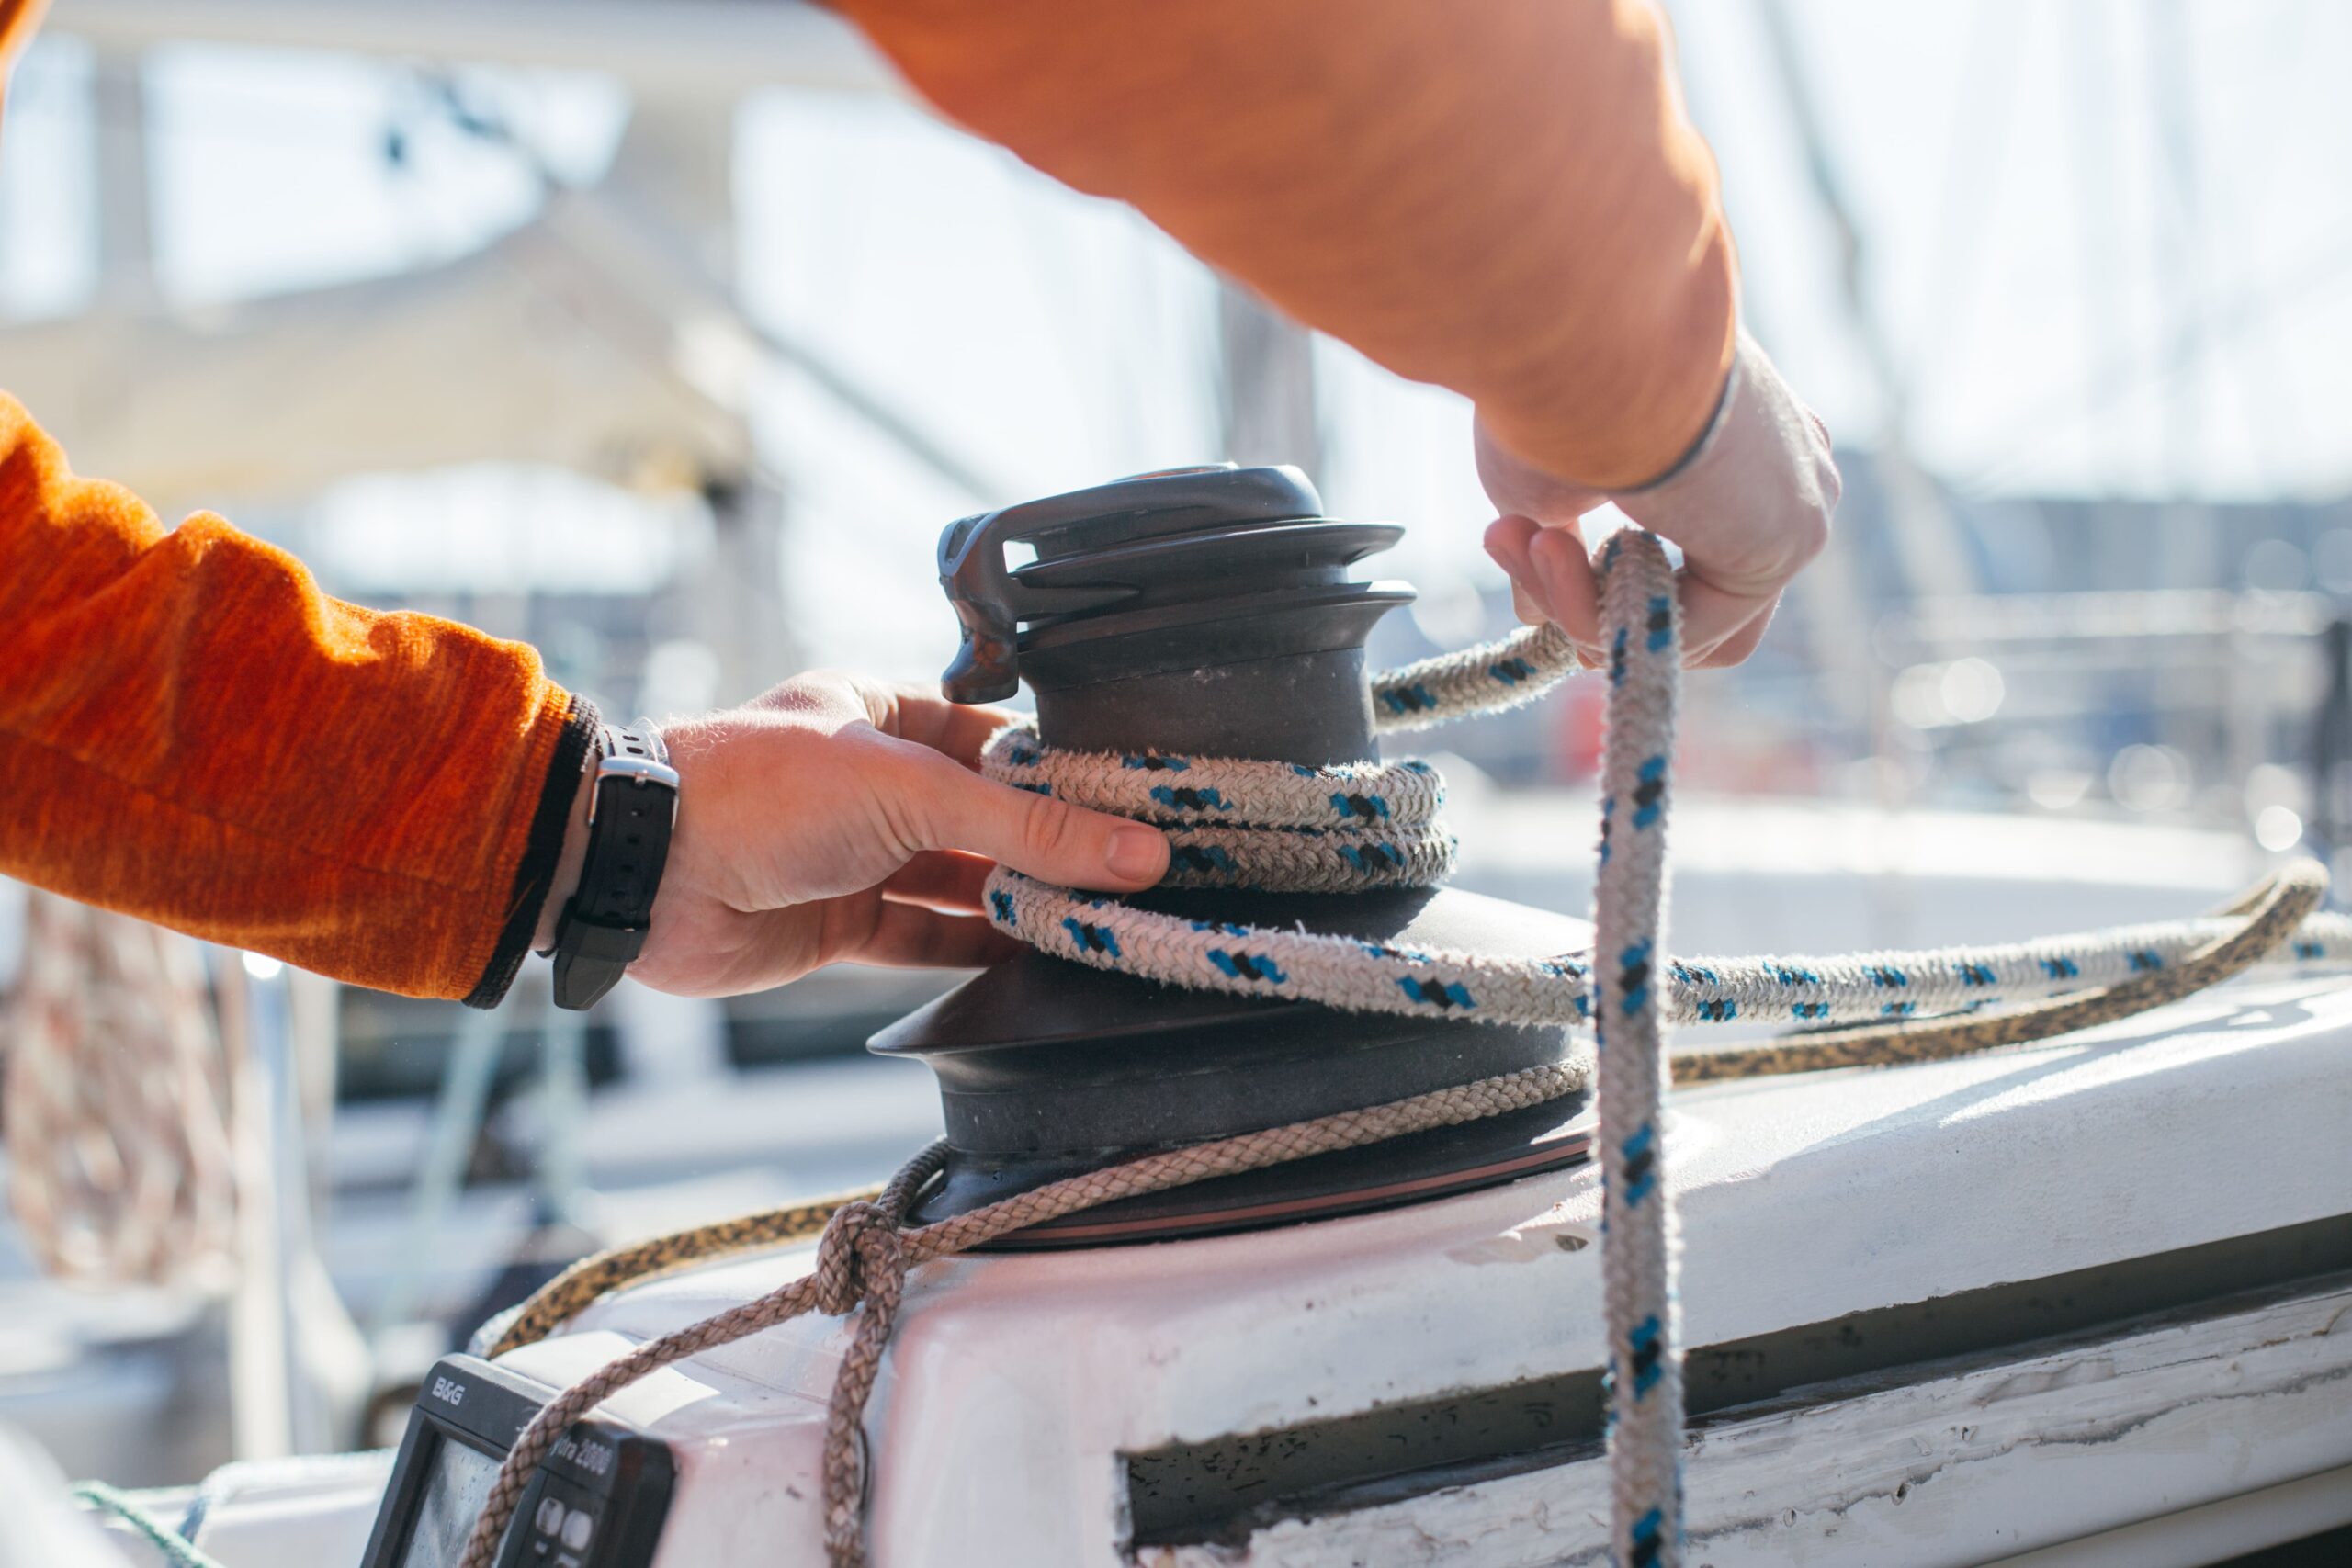
Every sailor, boat owner, and marine professional knows one universal truth — the sea is unforgiving to neglect. Saltwater corrosion,
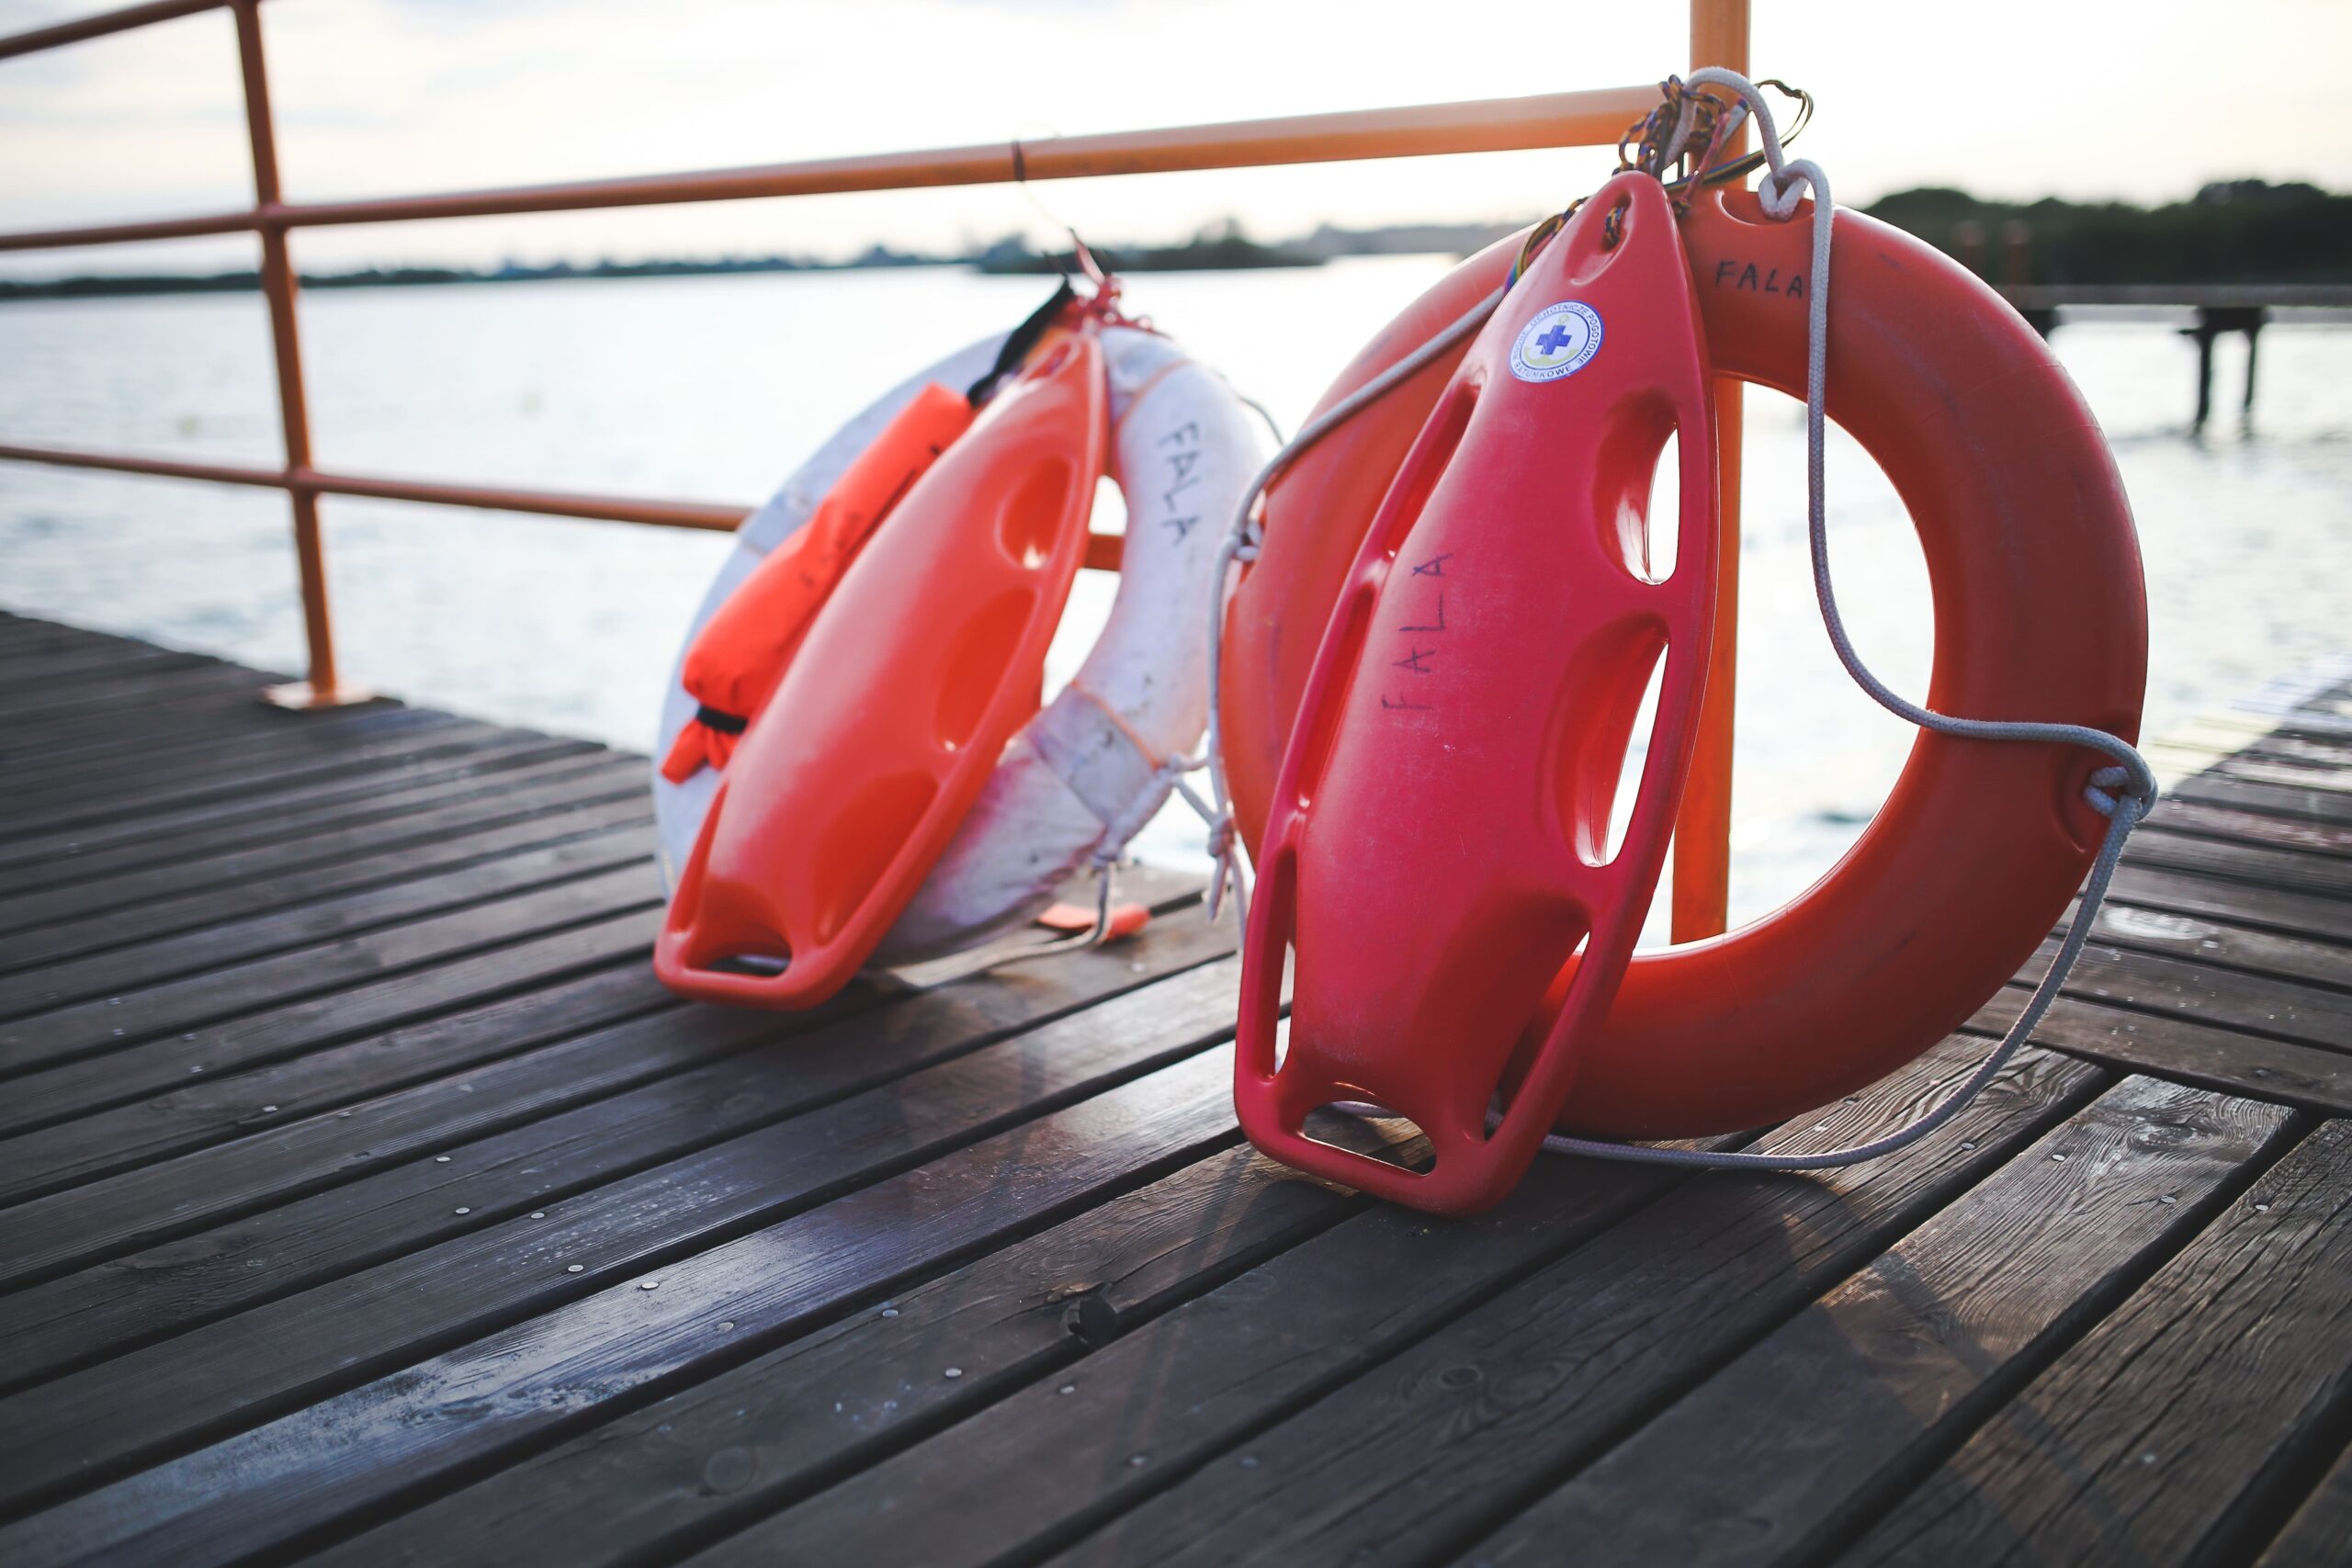
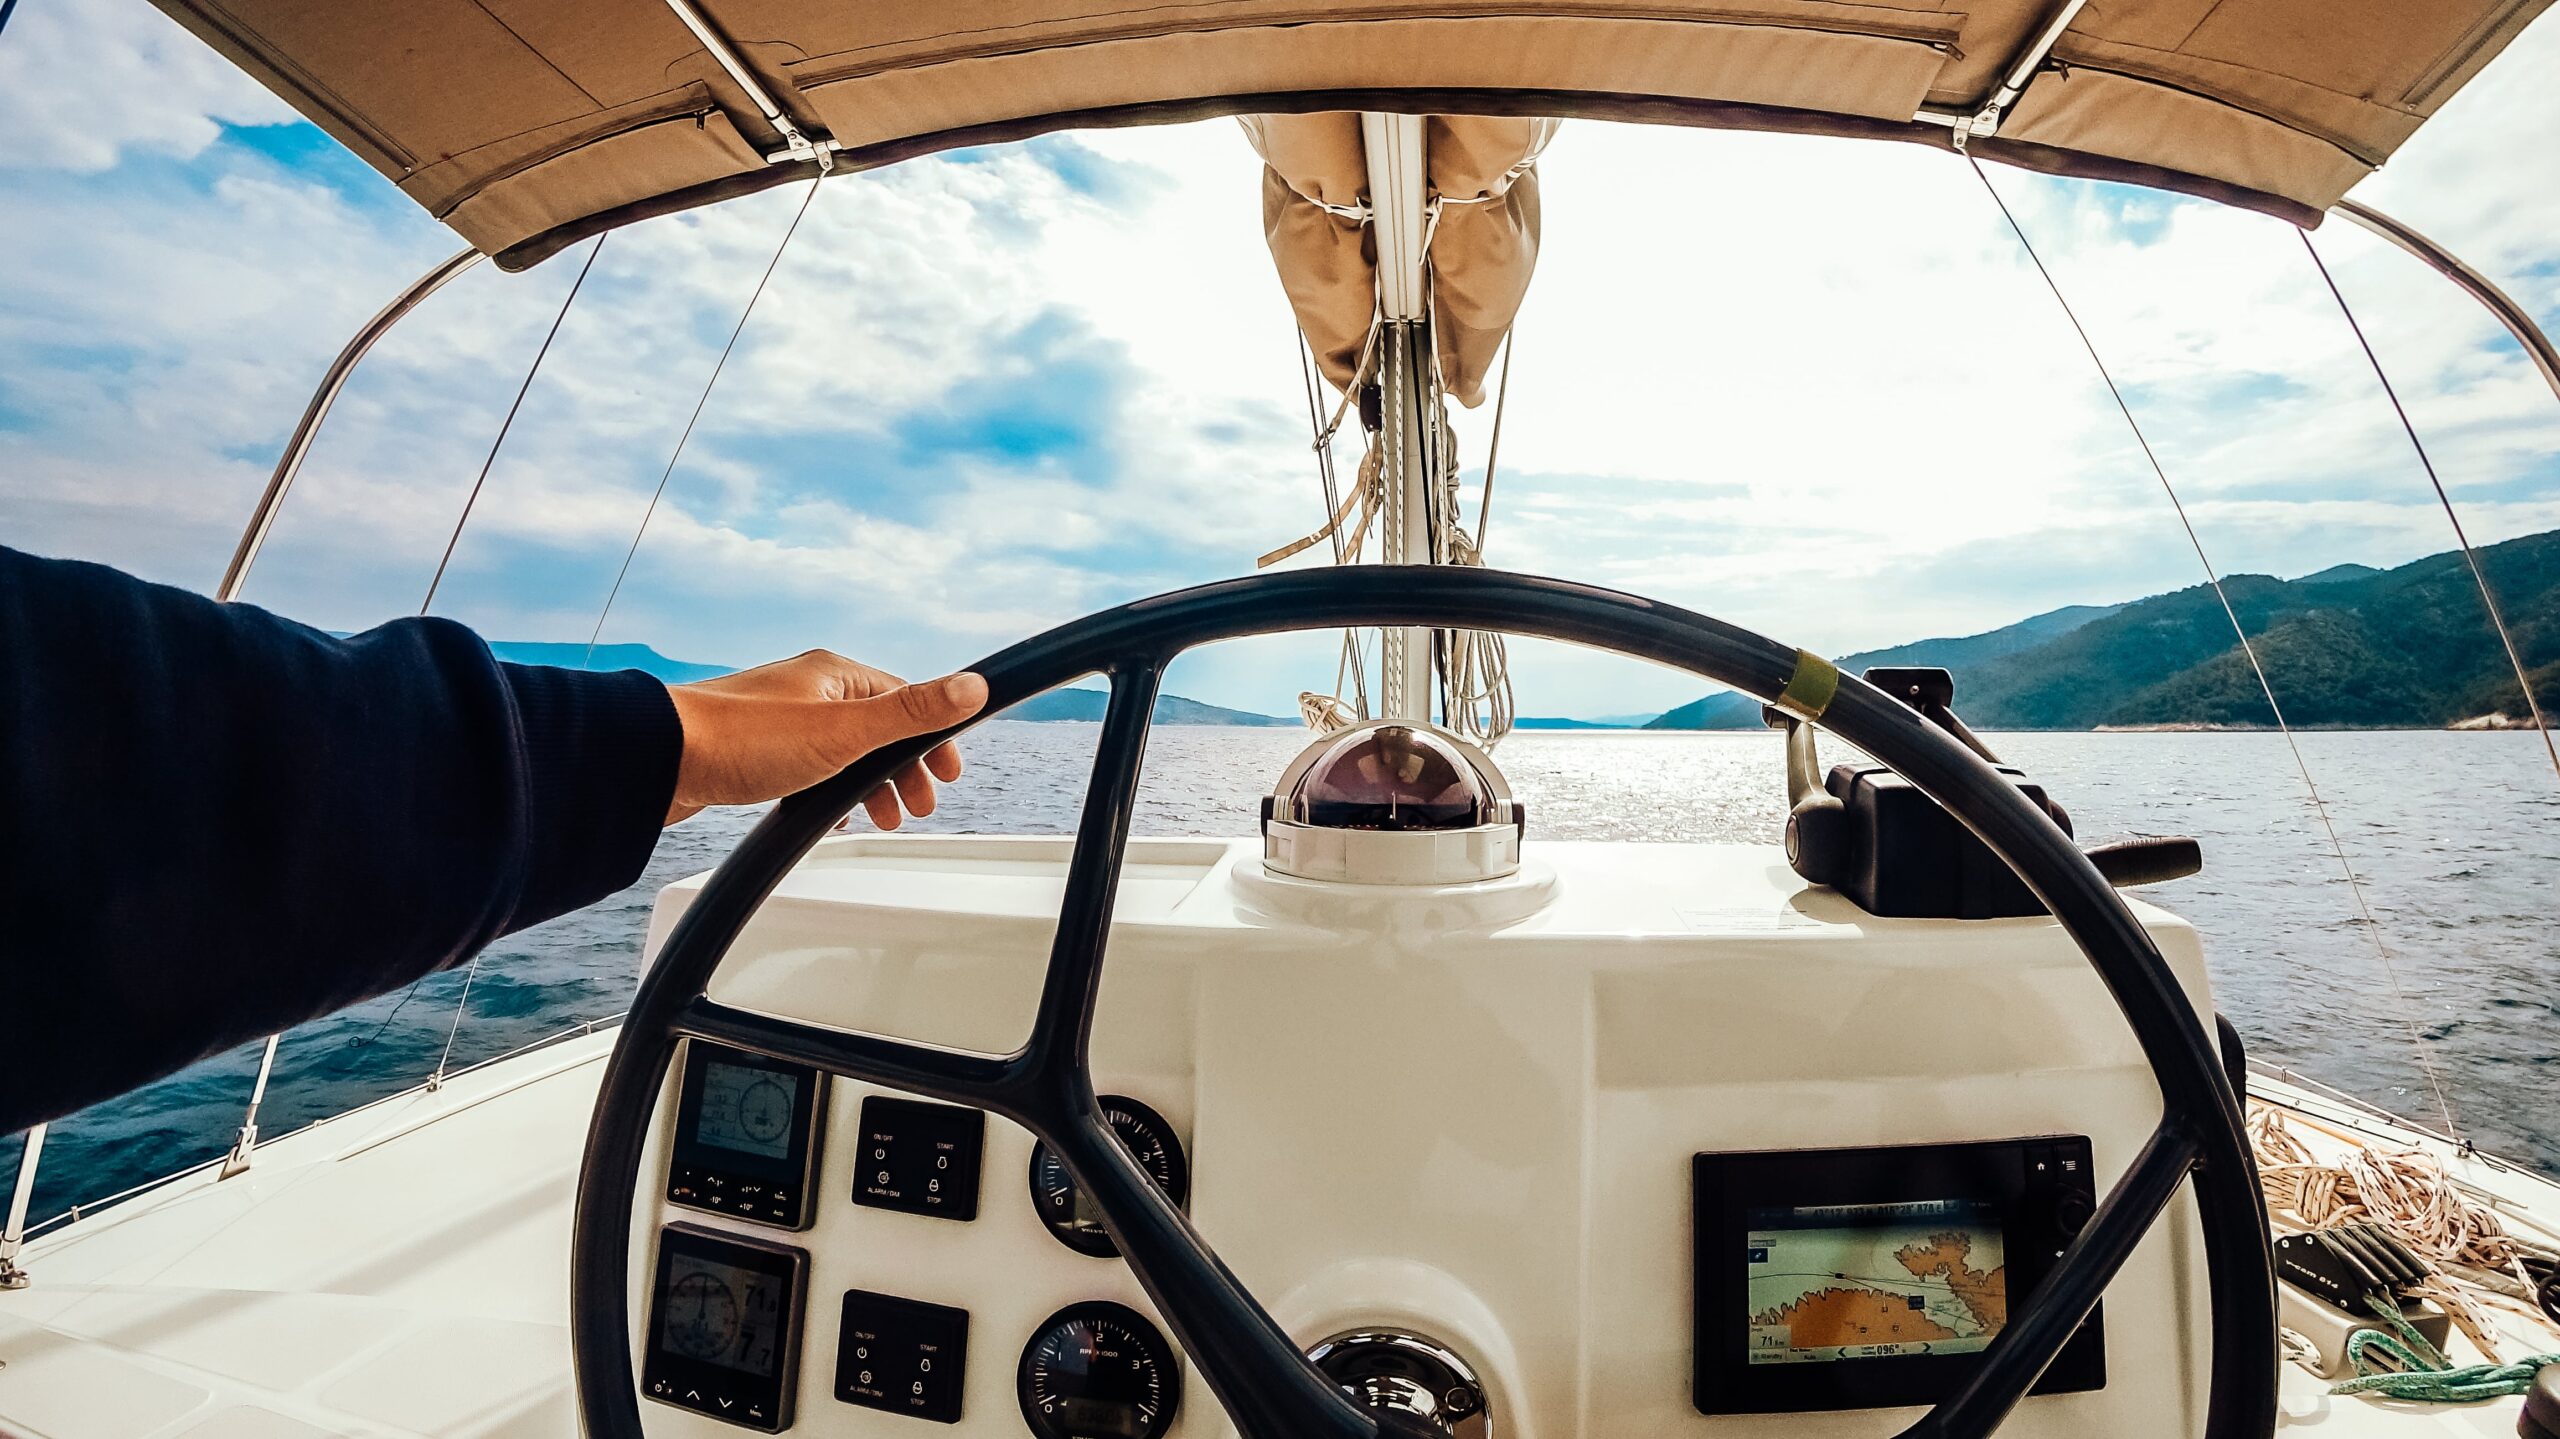
When you’re offshore — miles from land and facing unpredictable conditions — your equipment isn’t just gear; it’s your lifeline.